

What you need before the kettle goes on
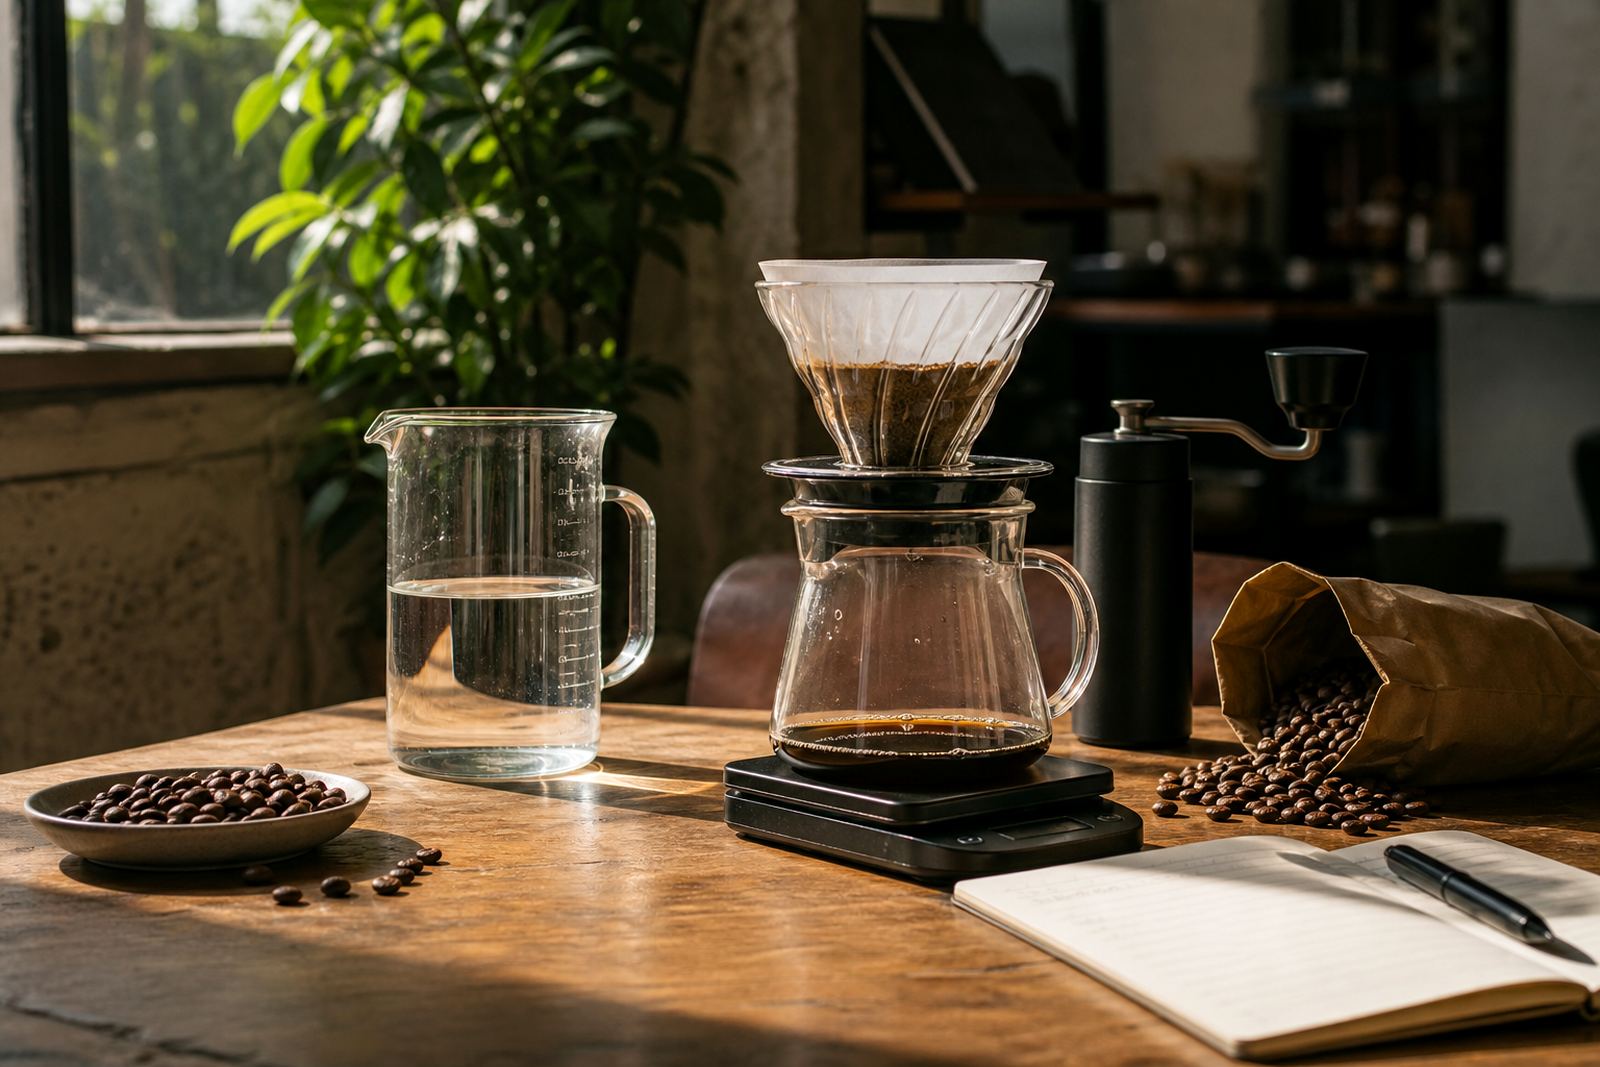
For a good pour over, keep the kit simple and consistent. You only need fresh coffee, a cone dripper, filter paper, a mug or server, a kettle, and a scale if you want repeatable results. Use a medium-light to medium roast if you want brighter fruit notes or a soft caramel finish, and grind it just before brewing for the best aroma.
If you are brewing in Cape Town, Johannesburg or Durban, watch the weather too. Coastal humidity can slow the grind a little, while dry inland air can make the coffee feel faster through the filter. Small changes matter, especially when you are chasing the same cup each morning.
- Coffee: 15 to 20 g for one cup, 30 g for two cups
- Water: 250 to 340 ml per cup, filtered if possible
- Water temperature: 92 to 96 C
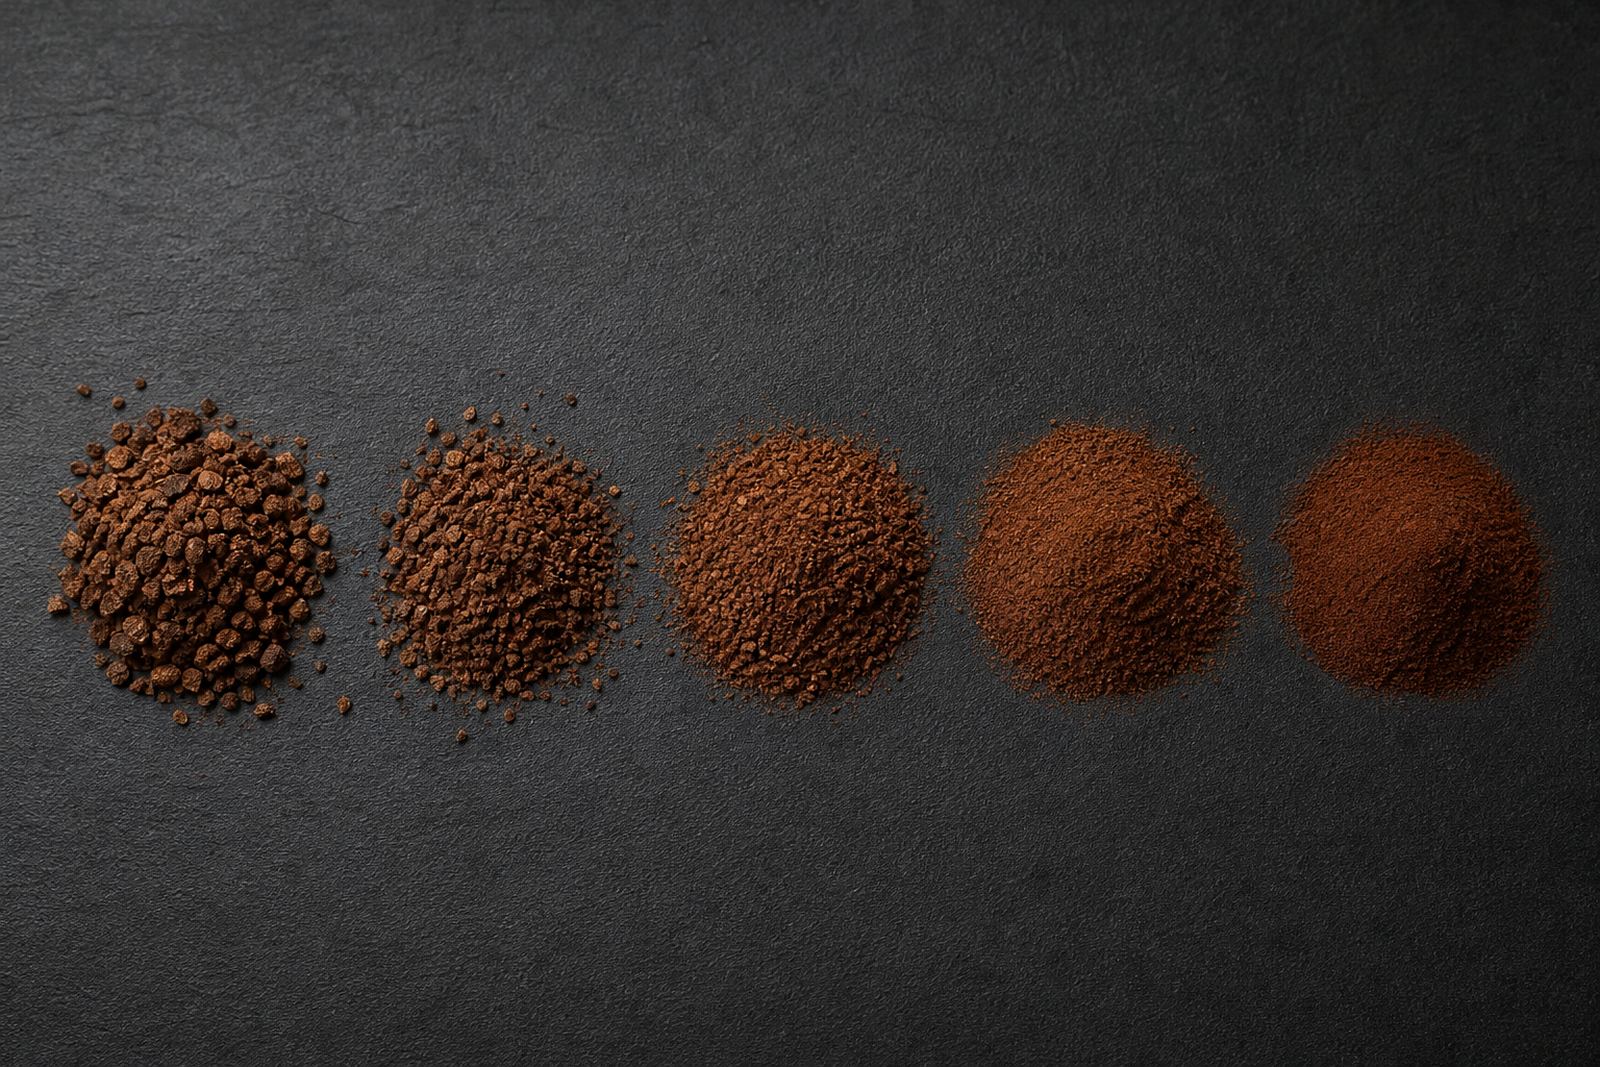
- Grind: like coarse sugar, not powdery
- Ratio: start at 1:16 coffee to water
Set up the cone and rinse the filter
Place the dripper on your mug or server and fold the paper filter neatly into the cone. Rinse the filter with hot water before adding coffee. This removes paper taste and warms the brewer, which helps the cup stay steady from start to finish. Pour away the rinse water before you begin.
Weigh your coffee if you can. A 15 g dose is a good starting point for 240 ml of water. If you are making coffee for a meeting room or a small hospitality counter, scale the recipe up in the same ratio rather than guessing. That keeps the flavour balanced and avoids weak, thin cups.
- Rinse the filter fully, then drain the rinse water
- Preheat the mug or server
- Add the ground coffee and level the bed
- Tap the dripper once to settle the grounds, not hard
Bloom the grounds for even extraction
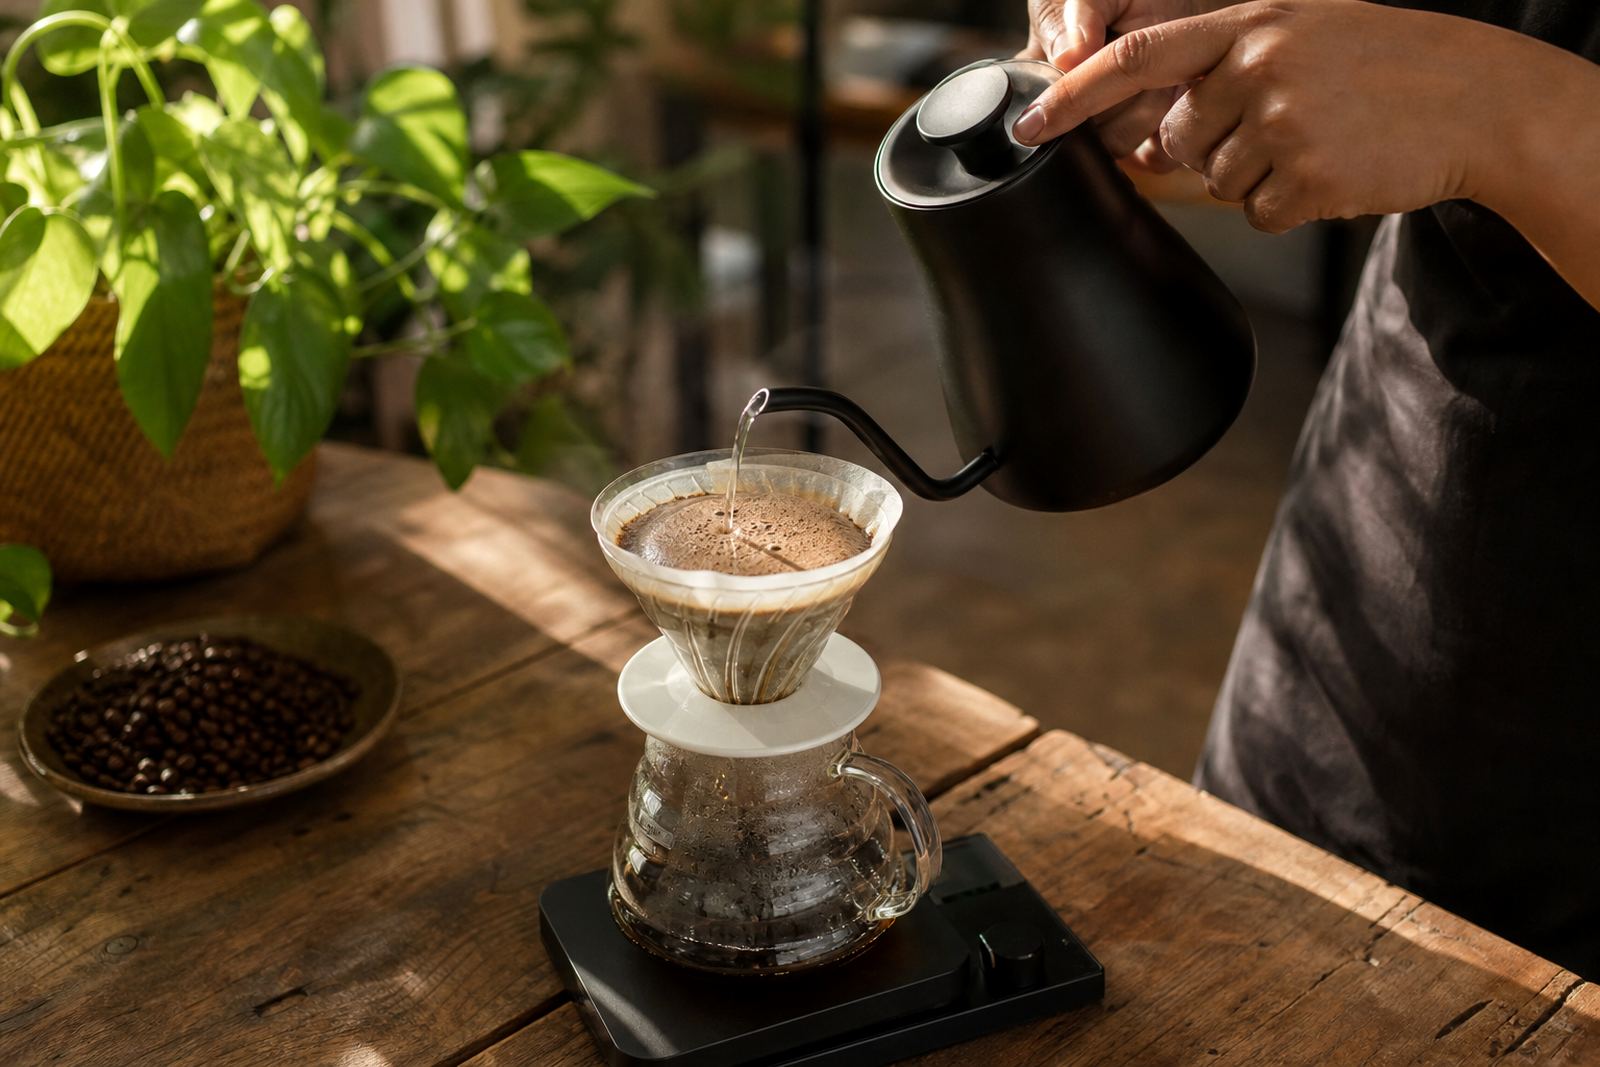
Start the brew with a bloom. Pour enough water to wet all the grounds, usually about twice the weight of the coffee. For 15 g of coffee, use about 30 g of water. Let it sit for 30 to 45 seconds. You will see the coffee swell and release gas, and that is a good sign. Fresh coffee often blooms more strongly than older stock.
This short pause helps water move through the bed evenly. If you skip it, the centre can stay dry while the outside over extracts. The result is often a cup that tastes flat at first, then bitter at the end. Keep the kettle close and pour gently, not in one hard blast.
- Wet all the grounds evenly
- Wait 30 to 45 seconds
- Look for a gentle rise across the whole bed
- If the bed stays dry at the edges, adjust your pour next time
Pour in small circles, not all at once
After the bloom, continue pouring in slow circles from the centre outwards and back in again. Keep the water level steady, but do not flood the filter. A calm pour gives the coffee time to extract sugars first, then the deeper flavours. Aim to finish pouring in 2 to 3 minutes for a single cup.
Hold the kettle a little higher for a stronger flow, lower for more control. If your grind is too fine the water will sit on top and drain slowly. If it is too coarse, the coffee can run through too fast and taste sour. A few small adjustments are enough, no need to change everything at once.
For offices and hospitality spaces, this part matters because one brew method must work across different busy periods. During load shedding or short power interruptions, hot water from a thermos can still give you a decent cup if the water is held in the right temperature range.
Taste the cup and adjust the next brew
A good pour over should taste clean, sweet and clear, with enough body to feel complete. If it tastes sour or thin, grind a little finer or pour a touch slower. If it tastes bitter or dry, grind coarser or shorten the total brew time. Make one change at a time so you can tell what helped.
Here is a simple way to read the cup after each brew:
- Sour, sharp or weak: use finer grounds or slightly hotter water
- Bitter, harsh or drying: use coarser grounds or a gentler pour
- Cloudy and muddy: check your filter fit and avoid stirring too much
- Too light: use a bit more coffee or reduce water slightly
Take notes if you are training staff or setting up a brew station for an office. A short note on grind, dose and brew time saves a lot of repetition later.
Clean up the filter cone and keep the routine steady
Once the coffee has drained, remove the dripper and discard the filter and grounds. Rinse the cone and server straight away so oils do not build up and affect the next brew. If you use a reusable metal brewer, wash it properly and dry it before storing it. A clean brewer helps the next cup taste better, simple as that.
Keep your routine the same each day: same dose, same water, same grind and same bloom time. That is how you get repeatable results at home, in a small office or at a counter where several people make coffee through the day. If your setup changes often, write down the recipe and keep it near the kettle so anyone can follow it.
When the basics are right, pour over gives you a bright and balanced cup with very little fuss. It is a practical method that rewards attention, and once you have it set the way you like, the results are consistently good.