
Start with the right range for your brew method
For most coffee, a sensible starting point is 90 to 96 degrees C. That range works well for many single-origin coffees because it extracts enough sweetness without pulling too much bitterness. If you are brewing a lighter roast, start near the top of the range. If the coffee is darker, try the lower end so the cup stays clean and not harsh.
At home or in an office kitchen, the exact number matters less than consistency. A kettle that boils hard and sits for too long will give you a very different result from water that has settled for 30 to 60 seconds. In warmer coastal areas like Cape Town or Durban, your water and room temperature can shift the brew a little more than you expect, so keep notes and make one change at a time.
- Lighter roast: 94 to 96 degrees C
- Medium roast: 91 to 94 degrees C
- Darker roast: 90 to 92 degrees C
- If the cup tastes thin, raise the temperature slightly
- If the cup tastes bitter or dry, lower it by 1 to 2 degrees C
How to judge the water before it touches the coffee
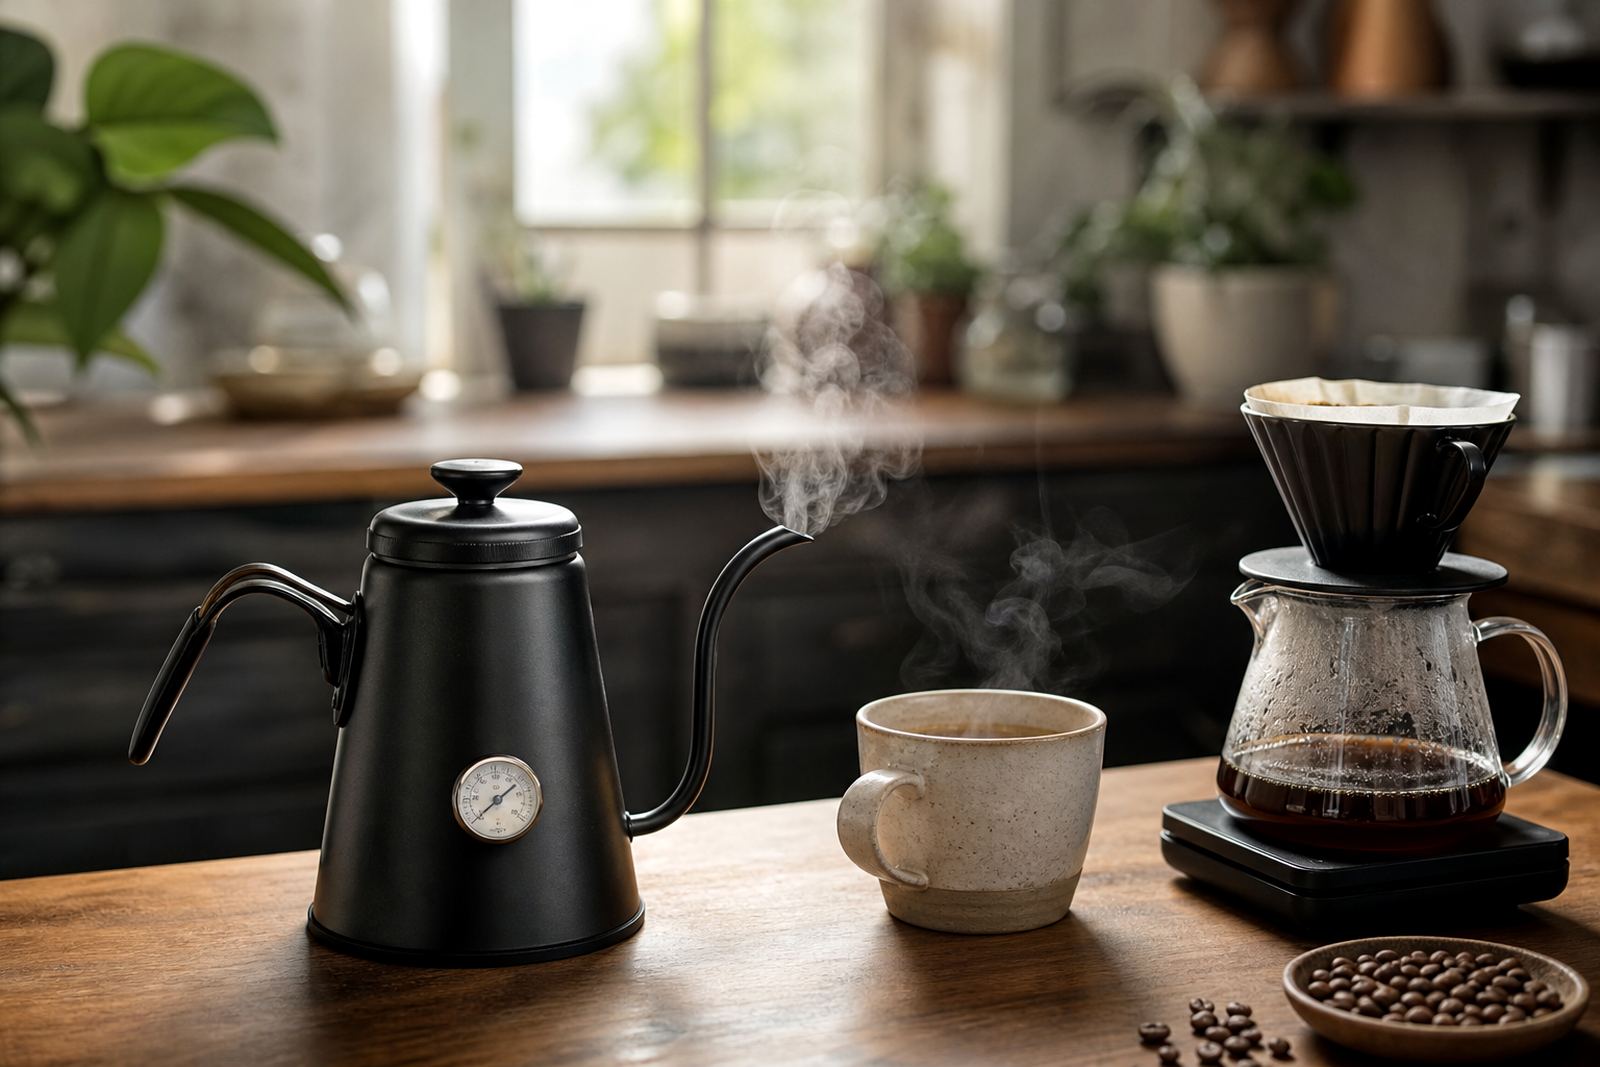
You do not need fancy equipment to get a decent result. A simple thermometer helps, but you can also work with a kettle and a repeatable routine. For most kitchen setups, bring the water to a boil then let it rest briefly before brewing. That pause lowers the temperature into a more useful zone for filter coffee and plungers.
Watch the signs in the cup. If the aroma is flat and the finish feels hollow, the water may be too cool. If the brew tastes sharp, dry or a bit burnt, the water may be too hot or the contact time too long. It helps to change only one thing at a time, otherwise you wont know what caused the difference.
- Boil, then rest the water before pouring
- Use the same kettle and same resting time each day
- Keep your grind, dose and brew time steady when testing temperature
- Record the taste, not just the number
Temperature tips for espresso machines and manual brewing
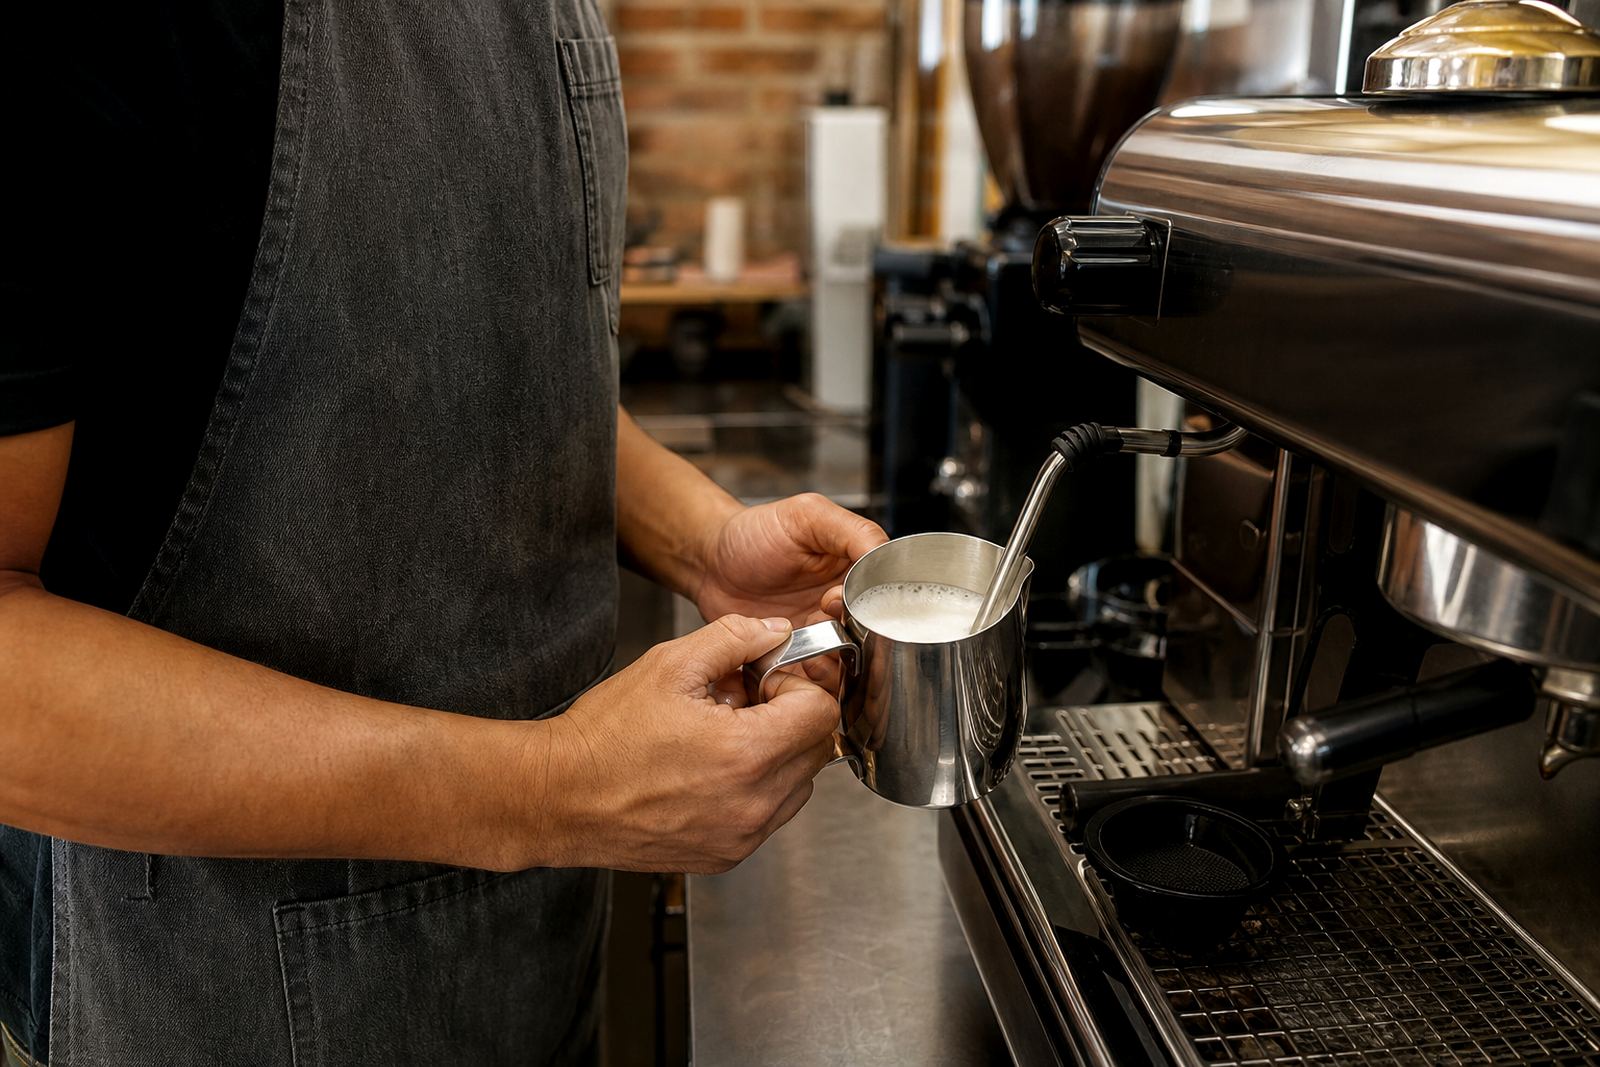
Espresso usually runs hotter than filter brew, but the target still depends on roast style and extraction. A stable machine with a proper warm-up gives better results than chasing a single perfect number. For espresso, small changes of 1 degree C can shift sweetness, acidity and crema from one shot to the next.
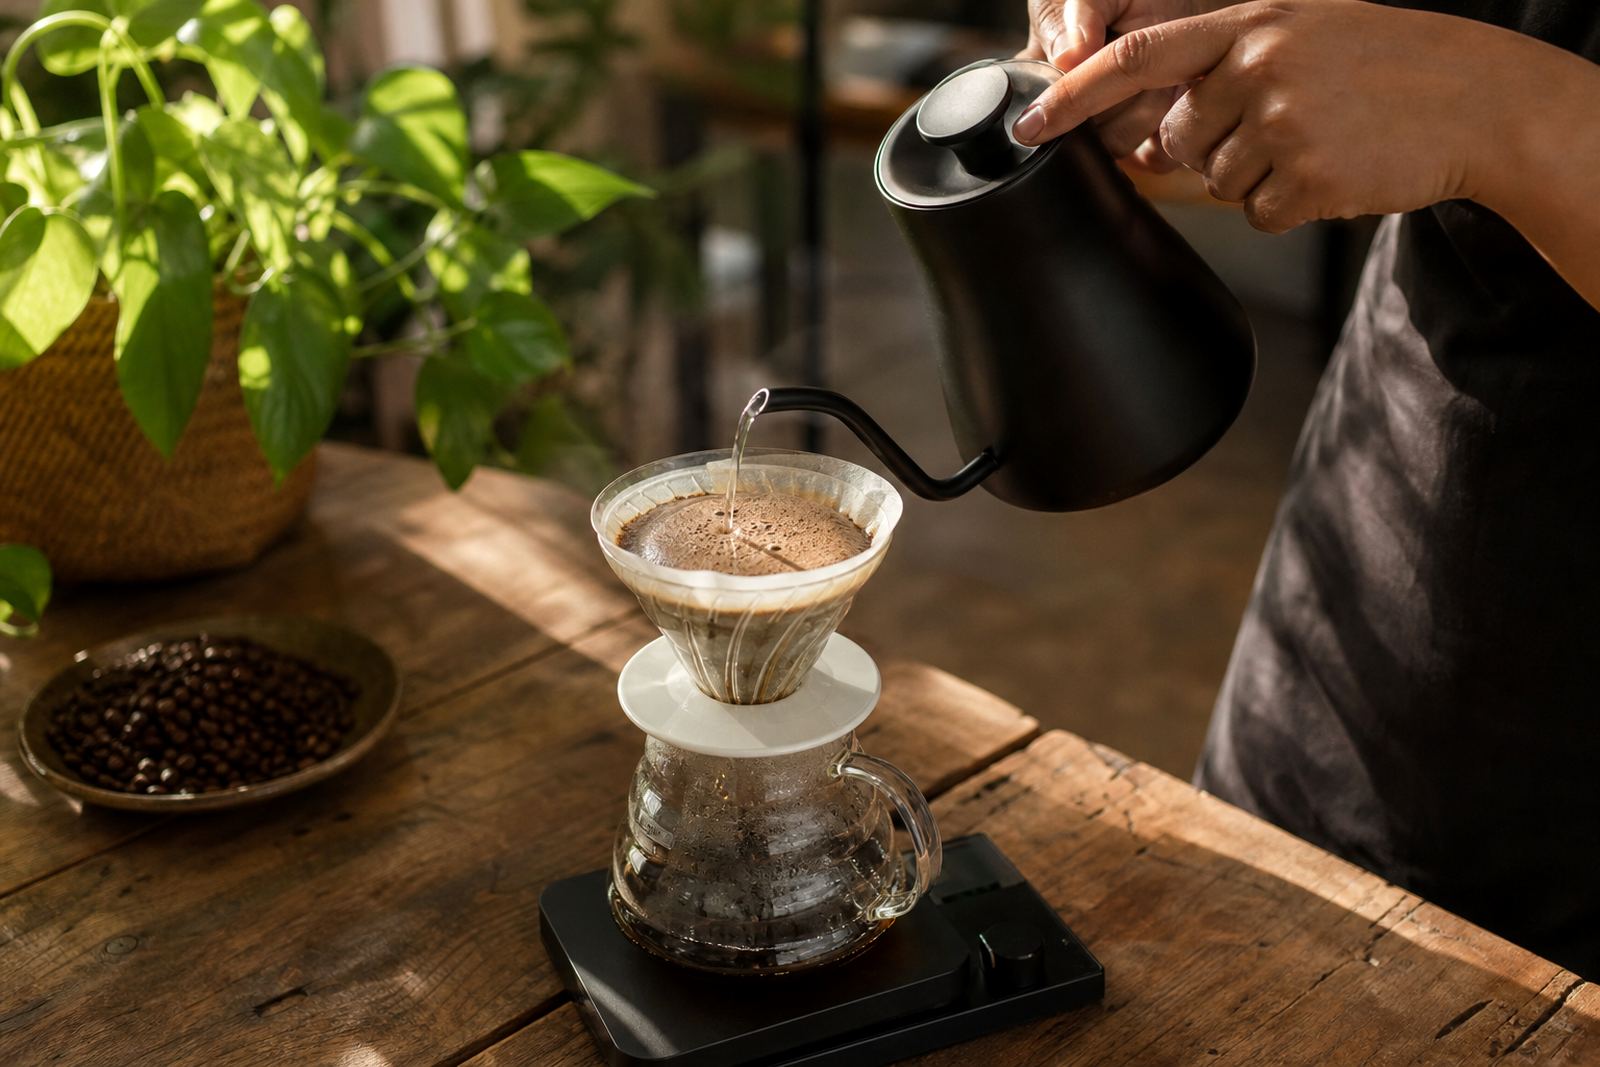
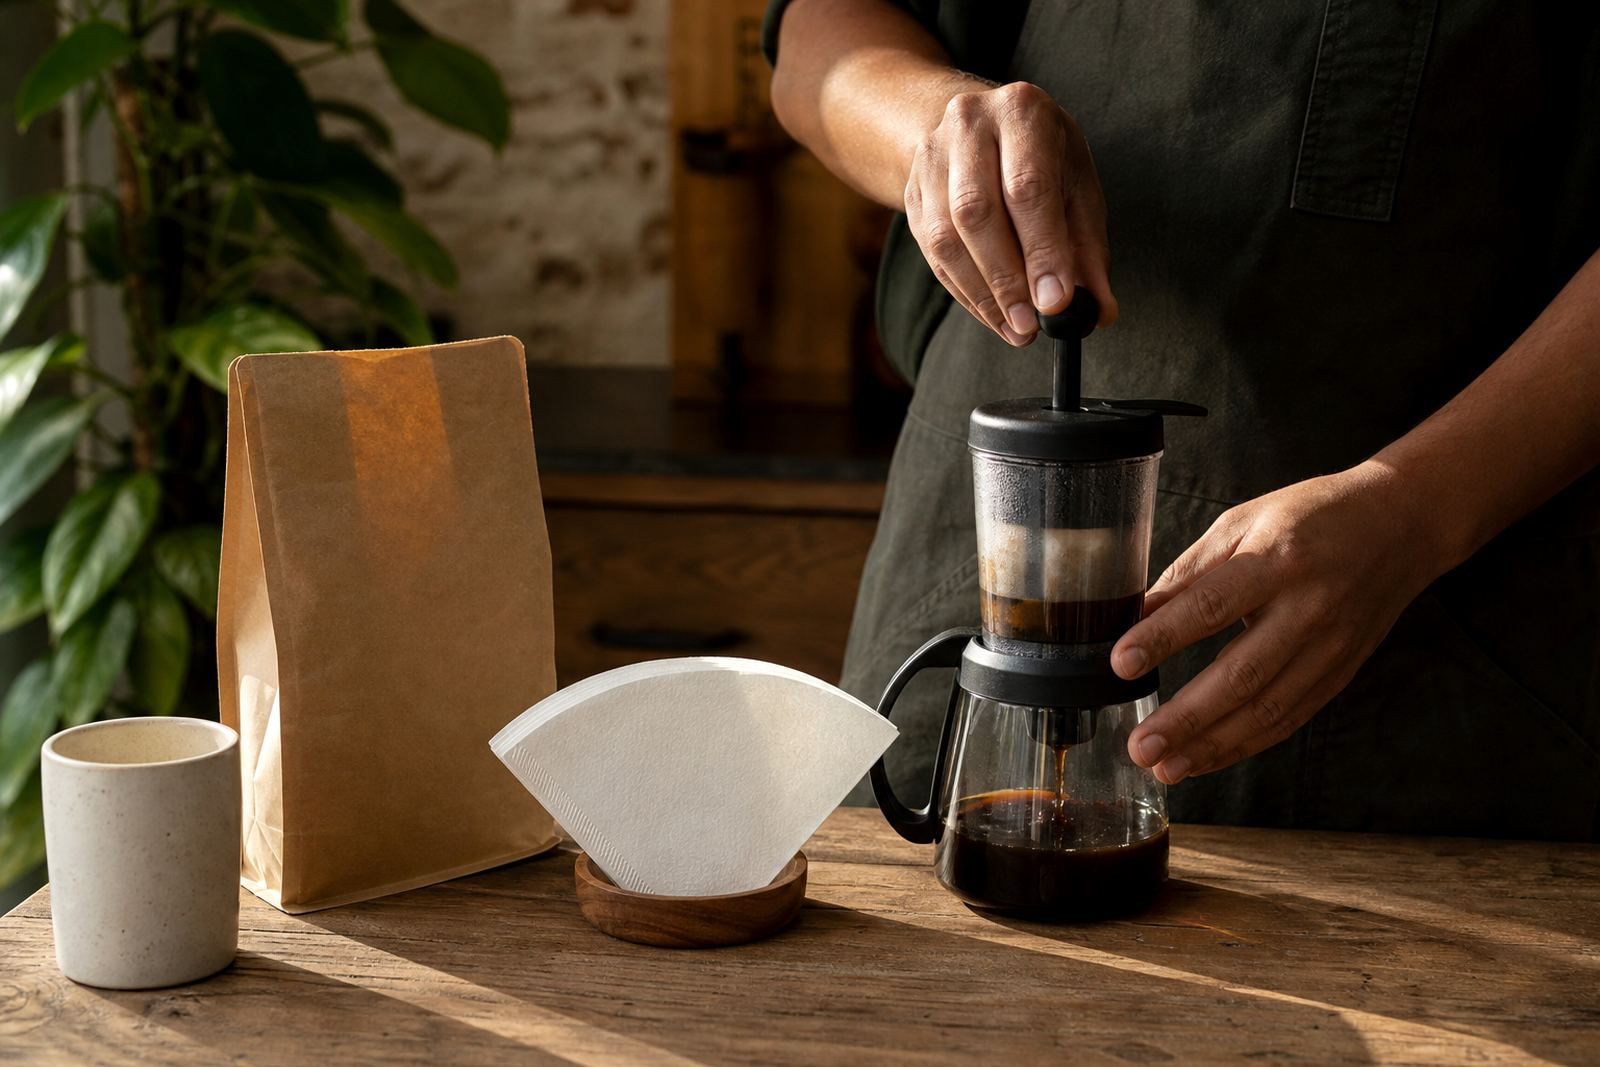
Manual methods need a slightly different approach. Pour-over, drip and AeroPress all respond well to water in the low to mid 90s. French press can handle similar temperatures, though a slightly lower setting can make the cup softer. If your office in Johannesburg or Pretoria has dry air and strong aircon, pre-warming the brewer is worth the effort.
- Espresso: test in small 1 degree C steps
- Pour-over: 92 to 96 degrees C
- French press: 90 to 94 degrees C
- AeroPress: 85 to 95 degrees C depending on recipe
Match temperature to roast level and flavour goals
Roast level gives you the first clue. Light roasts often need more heat to open up fruit, floral notes and acidity. Medium roasts usually sit comfortably in the middle of the range, while darker roasts often need less heat to avoid bitterness. The bean is only part of the story though, because grind size, dose and water quality also affect what you taste.
If you want more sweetness, try a slightly hotter brew and a steadier pour. If you want a rounder cup with less edge, step the temperature down a little. For office coffee service and meeting room setups, choose one brewing profile and keep it consistent across the week so staff get the same result from cup to cup.
- More fruit and brightness: increase temperature slightly
- More body and less bite: reduce temperature slightly
- More sweetness: keep temperature stable and avoid rushed pouring
- Less harshness: avoid boiling water directly onto the grounds
Practical checks for homes, offices and hospitality counters
Water temperature becomes even more important when people are brewing in shifts, during busy mornings or around load-shedding. If a kettle loses power and then reheats, the temperature can vary from one batch to the next. In a hospitality or meeting room setting, that inconsistency shows up quickly in the cup.
Use a short checklist before each brew session. It keeps the process simple and helps new staff follow the same steps. For subscription coffee at home, the same routine also makes it easier to compare each bag and learn what suits your taste best.
- Check kettle temperature or rest time
- Pre-warm the filter, press or cup
- Use fresh water, not water that has been reheated several times
- Keep the grind size matched to the method
- Note the result for next time
When to ask for help with your brewing setup
If your coffee still tastes inconsistent after you adjust the water temperature, the issue may be elsewhere in the brew chain. Grind calibration, water quality, filter shape and equipment cleanliness can all change the result. For offices, cafes and function spaces across South Africa, it often helps to review the full setup instead of chasing one variable at a time.
At A Cup Of, we work with homes and businesses that want better control over their brewing routine. That can include brew training, grind calibration, menu planning, stock forecasting and subscription management. If you are serving coffee in Woodstock, the Southern Suburbs, the Atlantic Seaboard, or further afield in Johannesburg, Durban, Pretoria and Gqeberha, a simple temperature plan can make day-to-day brewing much easier.
- Adjust temperature first, then refine grind size
- Keep a log of roast, method and brew time
- Review the setup if the same coffee tastes different every day