

What you need before you start
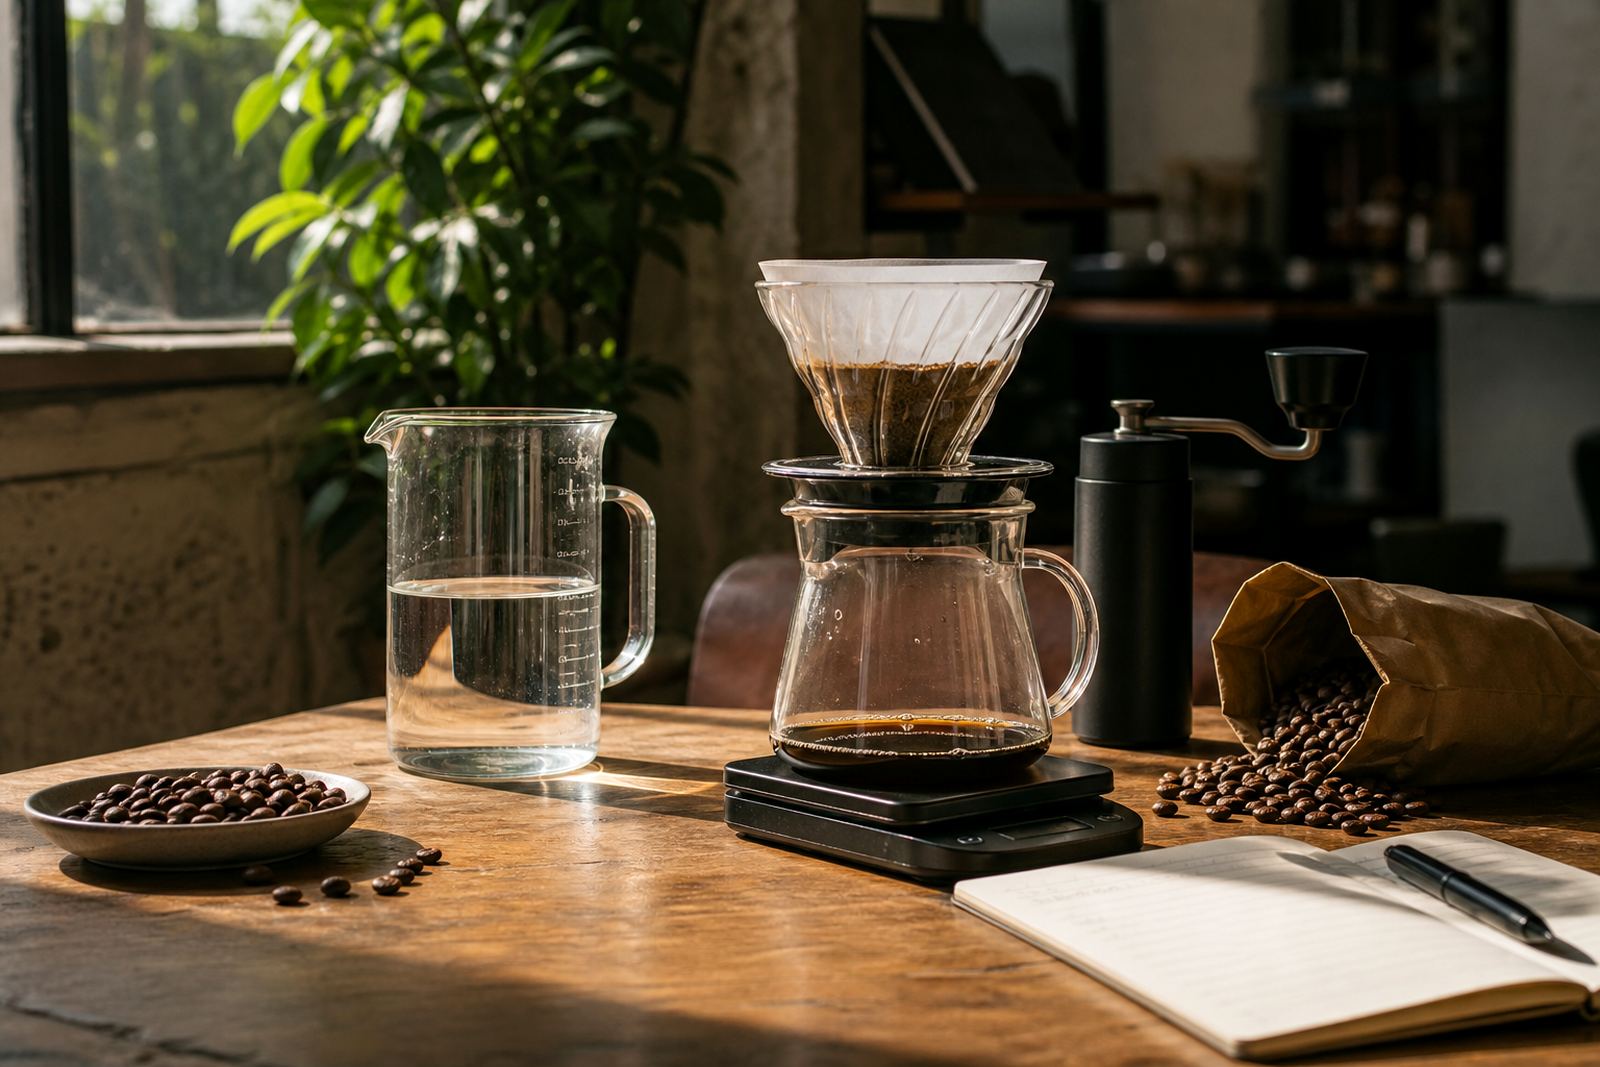
The Aeropress does not ask for much, and that is part of the appeal. You need the brewer, a filter, a grinder, fresh coffee, a kettle and a mug. A small scale helps, but if you are brewing without one you can still get consistent results by using the same scoop each time.
For a good starting point, use 15 to 18 g of coffee to 220 to 250 ml of water. Aim for a medium-fine grind, a bit finer than filter coffee and not as fine as espresso. If the grind is too coarse, the cup can taste thin. If it is too fine, the press can feel tight and the coffee may turn bitter.
- Aeropress brewer and cap
- Paper filter or metal filter
- 15 to 18 g freshly ground coffee
- 220 to 250 ml water at 85 to 94 C
- Timer and spoon or stirrer
A simple Aeropress recipe that works
This is a solid starting recipe for single-origin coffee. It brings out sweetness, keeps the body full and still lets the coffee taste clean. You can adjust it later, but start here and make one change at a time.
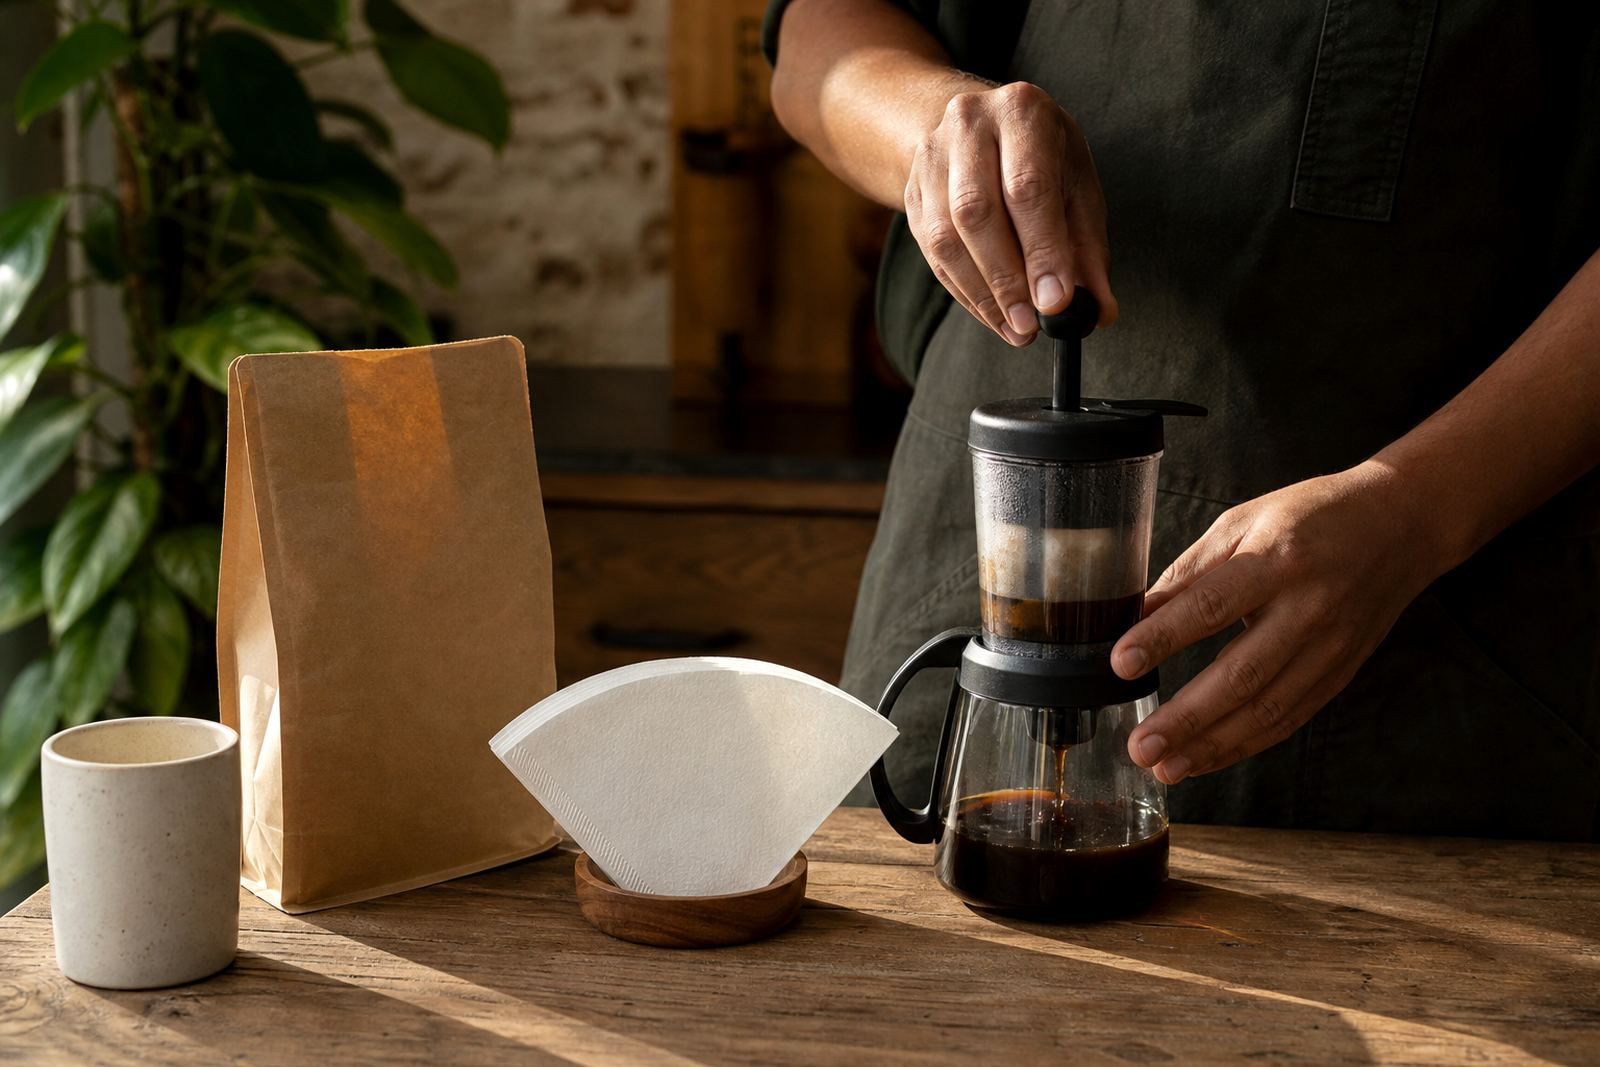
Rinse the paper filter and fit it into the cap. Place the Aeropress on your mug, add the ground coffee and pour in enough water to wet all the grounds, then fill to around 220 ml. Stir gently for 5 to 10 seconds, place the plunger on top and wait. Press slowly for about 20 to 30 seconds, using steady pressure. Stop once you hear a soft hiss.
- Grind size: medium-fine
- Coffee dose: 16 g
- Water: 230 ml
- Water temperature: 90 to 92 C
- Total brew time: around 2 minutes
How to adjust the flavour in small steps
The Aeropress is easy to tune. If the cup tastes sharp or sour, try a finer grind, a slightly hotter brew water or a longer steep. If it tastes bitter or heavy, use a coarser grind, cooler water or shorter steep time. Small changes make a noticeable difference.
Single-origin coffee often changes with the season, and that means the recipe may need a little attention. A bright Ethiopian lot may shine with a shorter brew while a chocolatey Colombian can take a bit more extraction. In Cape Town coastal air can also affect how beans behave in the grinder, so keep your coffee sealed and out of direct sunlight.
- Too sour: finer grind or longer steep
- Too bitter: coarser grind or cooler water
- Too weak: add more coffee or reduce water
- Too strong: add a little more water after pressing
Common mistakes and how to avoid them
Most Aeropress problems come from only a few places: grind, water, time or pressure. People often push too hard, which can force bitterness into the cup. A gentle press is better. You are not trying to win a contest, just move water through the coffee bed evenly.
Another common issue is using water that is too hot. For many coffees, water straight off the boil can flatten delicate notes. Let the kettle rest for 30 to 45 seconds after boiling, then brew. Also make sure the filter is seated properly, because a loose cap can cause grounds to slip through. It is a small thing but it matters.
- Do not pack the coffee down before adding water
- Do not press too fast
- Do not skip rinsing the paper filter
- Do not let the brew sit too long before pressing
Making Aeropress coffee at home, work or on the move
The Aeropress suits homes, offices and travel bags because it is compact and quick to clean. In a workplace kitchen it can handle one cup at a time, which is useful for meeting room coffee or a quiet afternoon break. At home it is easy to rinse and pack away. On the road, it needs only hot water and a mug.
For offices in Johannesburg, Pretoria or Durban, it is a useful option when you want good coffee without a large machine footprint. It is also practical where power cuts or load-shedding interrupt normal brewing, because you can use a kettle on gas or an alternative heat source if allowed on site.
- Good for one cup brewing
- Easy to clean with little water
- Works well in small kitchens and staff areas
- Handy during load-shedding with a suitable heat source
Keep your gear and coffee in better shape
After each brew, remove the puck, rinse the chamber and wipe the plunger. Let all parts dry before you pack them away. Paper filters should stay dry and clean, and coffee should be kept in a sealed container away from heat and moisture. In humid coastal areas like Gqeberha and Durban, this matters even more because beans can stale faster if left open.
If you are brewing for a household or a small team, set a basic routine so the results stay consistent. We suggest weighing the coffee, checking the grind and using the same water temperature each morning. A simple habit can save a lot of waste and keep the cup reliable from day to day.
- Rinse and dry after every use
- Store beans in an airtight container
- Keep grinders clean so old fines do not affect flavour
- Use the same recipe for a week before changing it