

What you need before you start
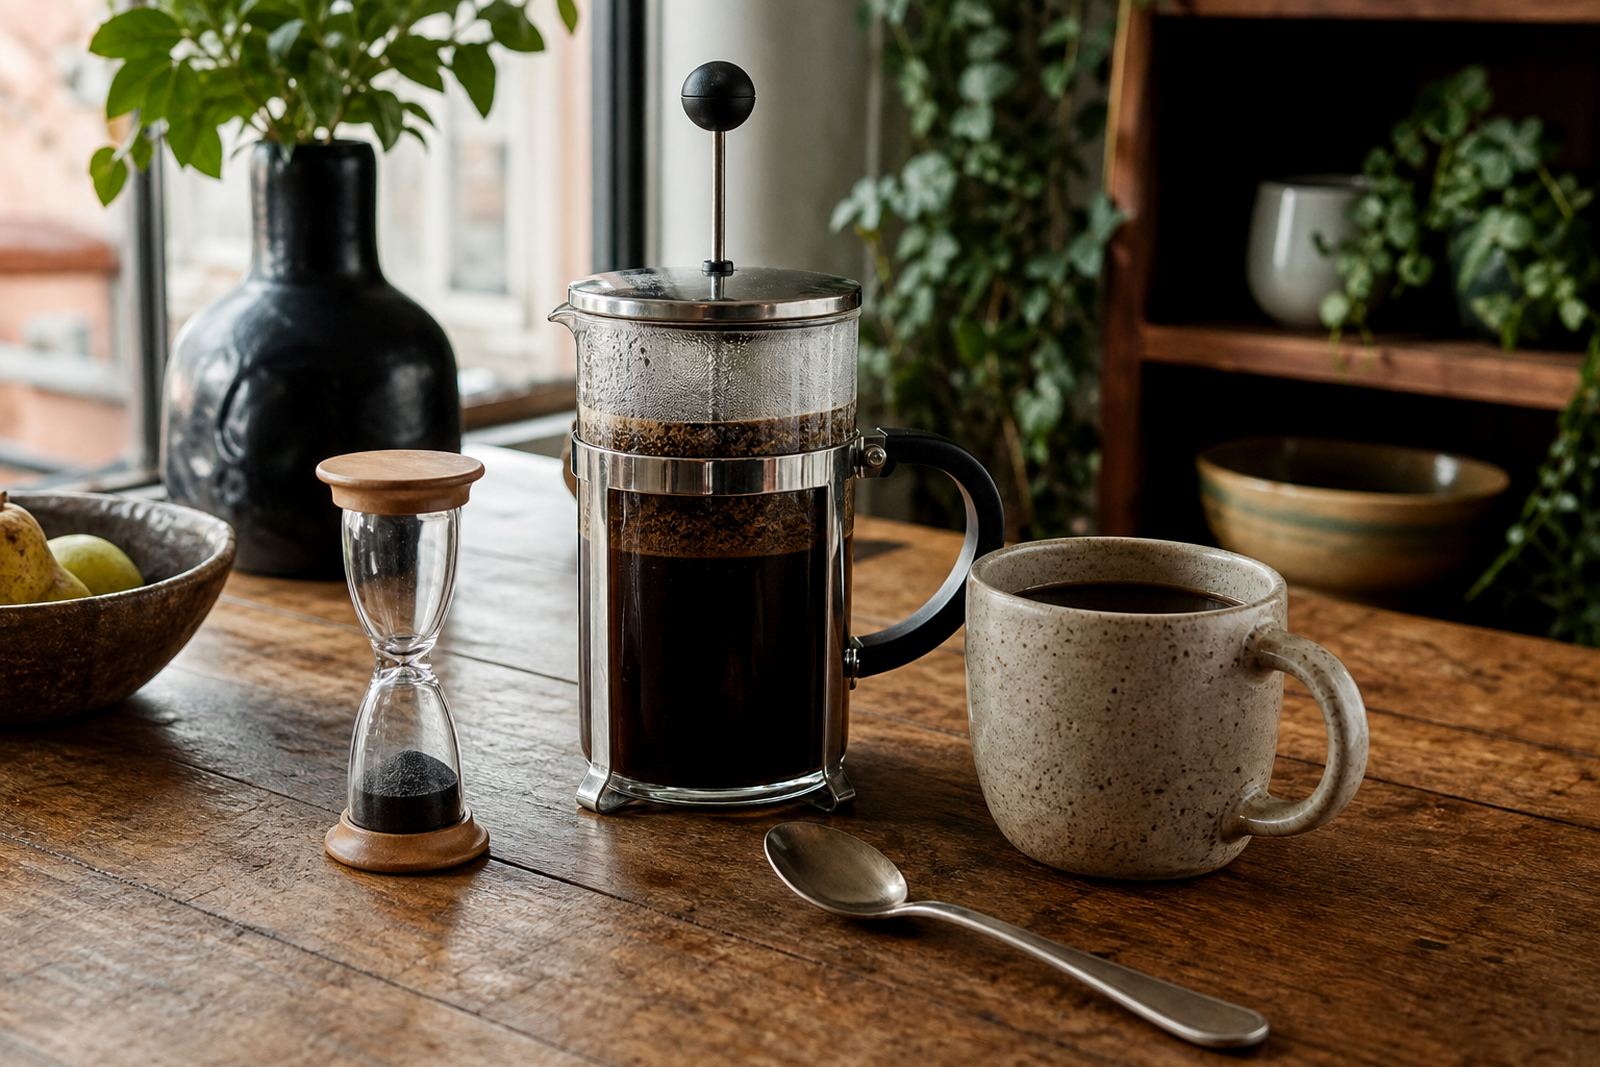
A good plunger brew begins with fresh coffee, a clean press and a kettle you can control. If the filter is worn or bent, fine grounds will slip through and the cup will taste gritty no matter how carefully you brew. Use freshly roasted beans, ideally within 2 to 4 weeks of roast, and grind just before brewing if you can.
For home use, a 350 ml to 1 litre French press works well. If you are brewing for a small office in Cape Town or Johannesburg, size the press to the number of cups you need rather than overfilling a small unit. A simple scale and timer help a lot, especially when load-shedding means you may be working with a limited kettle run and want the first try to count.
- Fresh coffee beans or ground coffee
- French press with intact filter assembly
- Kettle and timer
- Scale or measuring spoon
- Stirrer or spoon
Choose the right grind and ratio
For plunger coffee, aim for a coarse grind that looks a bit like breadcrumbs or rough sea salt. Too fine and the cup turns muddy, with more sediment and a bitter edge. Too coarse and the brew can taste thin. If you are grinding on site for a hospitality station or meeting room, ask for the coarsest setting that still feels even between the fingers.
A practical starting ratio is 1:15. That means 20 g coffee to 300 ml water, or 30 g to 450 ml. For a stronger cup, move closer to 1:14. For a milder cup, try 1:16. Keep the ratio the same for a few brews before changing it, otherwise it is hard to tell whether the grind or the dose made the difference.
- Standard ratio: 1 part coffee to 15 parts water
- Strengthier cup: 1:14
- Lighter cup: 1:16
- Grind: coarse and even, not powdery
Heat the water to the right temperature
Boil the water, then let it sit for about 30 to 45 seconds before pouring. You are aiming for roughly 92 to 96 degrees Celsius. If the water is too hot, it can scorch the grounds and bring out harsh notes. If it is too cool, the brew may taste flat and under-extracted.
In coastal areas such as Gqeberha or Durban, humidity can affect how beans behave in storage. Keep coffee sealed in an airtight container and away from the stove or window. In winter in Pretoria, dry indoor air can make ground coffee stale faster, so grind only what you need for the day.
If you do not have a thermometer, use the boil-and-wait method and keep it consistent each time. Consistency matters more than chasing perfection on one brew.
Step-by-step brewing method
Start by warming the French press with hot water, then tip that water out. Add the coffee grounds and pour in enough water to wet all the grounds evenly. This first pour helps release trapped gas and improves extraction. After 30 seconds, add the rest of the water and give the brew a gentle stir, just once.
Place the lid on top with the plunger pulled all the way up. Steep for 4 minutes for a balanced cup. If you want a fuller body, you can push to 4 minutes 30 seconds, but go carefully because too long can add bitterness. When the timer ends, press down slowly and evenly. If you push too hard, fine particles can shoot through the filter and cloud the cup.
- Preheat the press with hot water
- Add coarse grounds
- Pour to bloom for 30 seconds
- Top up with the remaining water
- Stir once, lightly
- Steep for 4 minutes
- Press slowly, then serve straight away
How to get less sediment in the cup
A little sediment is normal with plunger coffee, but there are ways to keep it down. Use a coarser grind, stir less, and avoid pressing the plunger all the way to the bottom with force. Once you have pressed, decant the coffee into mugs or a thermal jug straight away, because leaving it sitting in the press over-extracts the grounds at the bottom.
If you want an even cleaner cup, pour through a fine mesh sieve into the serving jug. Some people in office kitchens prefer this extra step because it keeps the last sip cleaner. It also helps if the press is used for back-to-back brews during a small event or a busy morning service.
- Use a coarser grind
- Stir only once
- Press slowly and evenly
- Decant immediately after pressing
- Use a sieve if you want a cleaner finish
Common mistakes and how to fix them
If the coffee tastes sour, the grind may be too coarse, the brew time too short, or the water too cool. If it tastes bitter or dry, the grind may be too fine or the coffee may have steeped too long. A weak cup usually means the dose is too low or the water-to-coffee ratio is out of balance.
Check the plunger screen too. If it is loose, warped or clogged with old oils, the cup will not improve no matter how carefully you brew. Wash all parts after use with warm water and mild detergent, then rinse well. In busy workplaces from Woodstock to the Southern Suburbs, that simple routine keeps flavour cleaner and the press lasts longer.
- Sour cup: grind finer or steep a little longer
- Bitter cup: grind coarser or shorten the steep
- Weak cup: increase the dose
- Gritty cup: check the filter and press more slowly
A quick checklist for everyday brewing
Use this short checklist when you need a good cup before a meeting, after lunch or during a quiet afternoon shift. It keeps the process simple and helps you repeat the same result each time. For homes and offices that buy coffee in larger volumes, it also makes training easier for staff who are new to plunger brewing.
- Beans are fresh and stored airtight
- Grind is coarse and even
- Water is hot, not boiling at the pour
- Ratio is measured, not guessed
- Steep time is set to 4 minutes
- Coffee is served as soon as it is pressed
- Press and filter are washed after use
Once the basics are in place, you can adjust strength and steep time to suit your taste. That is the best part of plunger coffee, it is simple to run once you know the few things that matter most.